Replacing Case in Raspberry Pi that is good and true
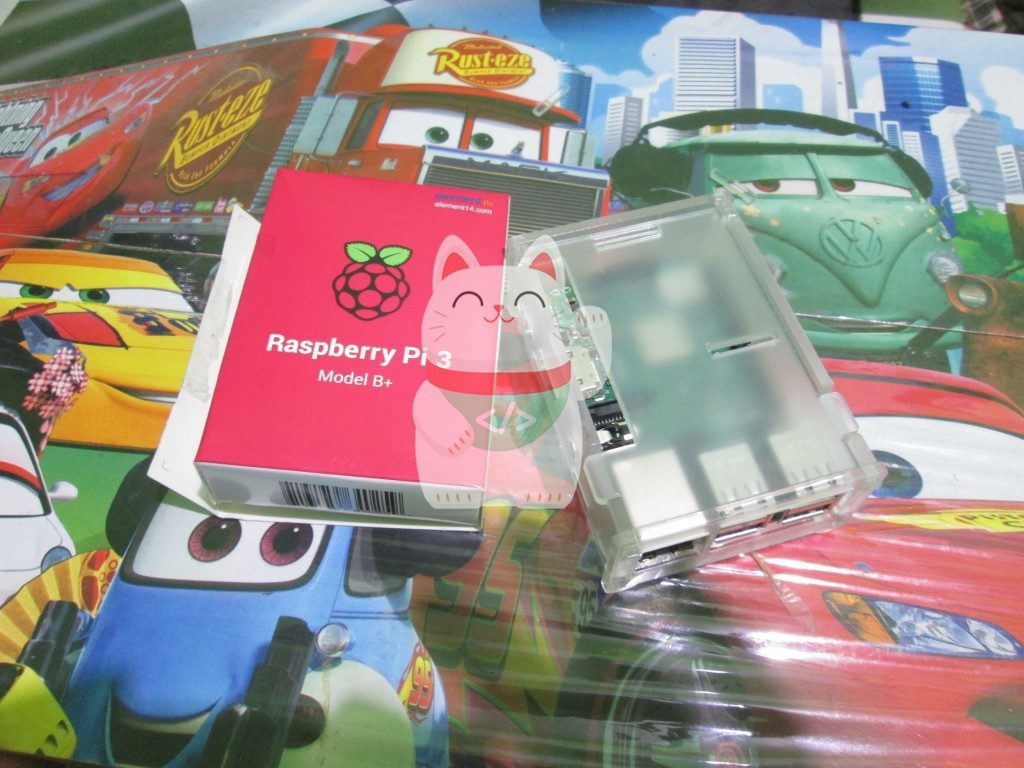
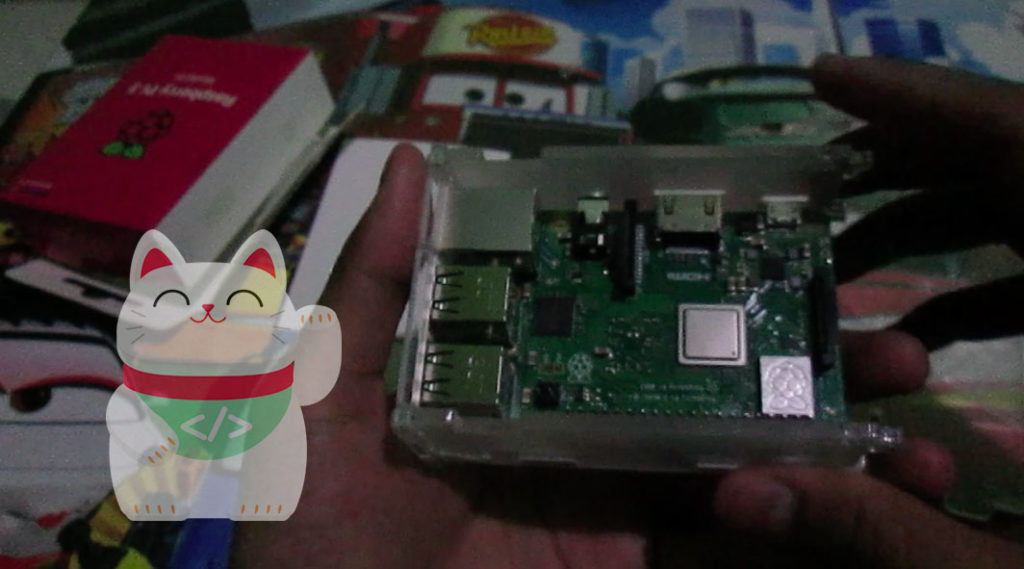
This time I want, this time I use a transparent casing, a lot of hell in online shops is not until idr 30k-50k. Cheap secured. but unfortunately this use case that i still have not support for Fan, because the casing is rather tight there is not a hole for fannya. The following step by step her.
preparation Materials

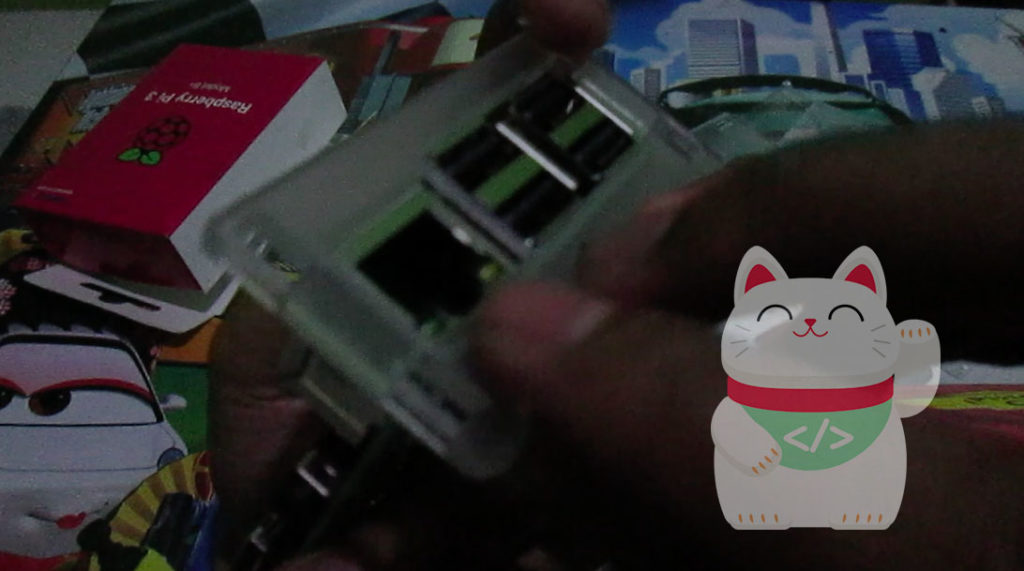
Replacing Part Component Input
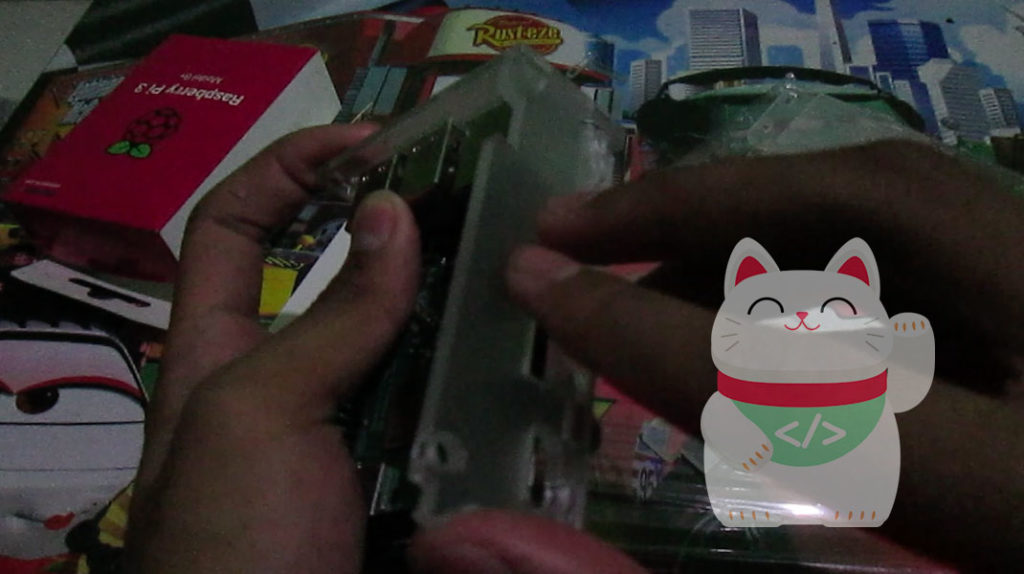
Replacing Parts Left / Right (One) Raspberry Pi
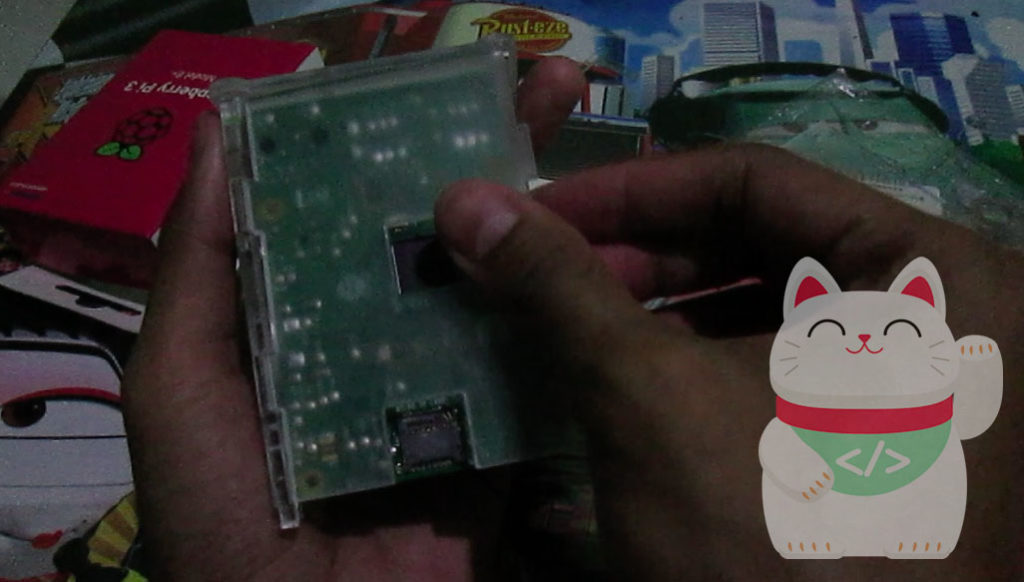
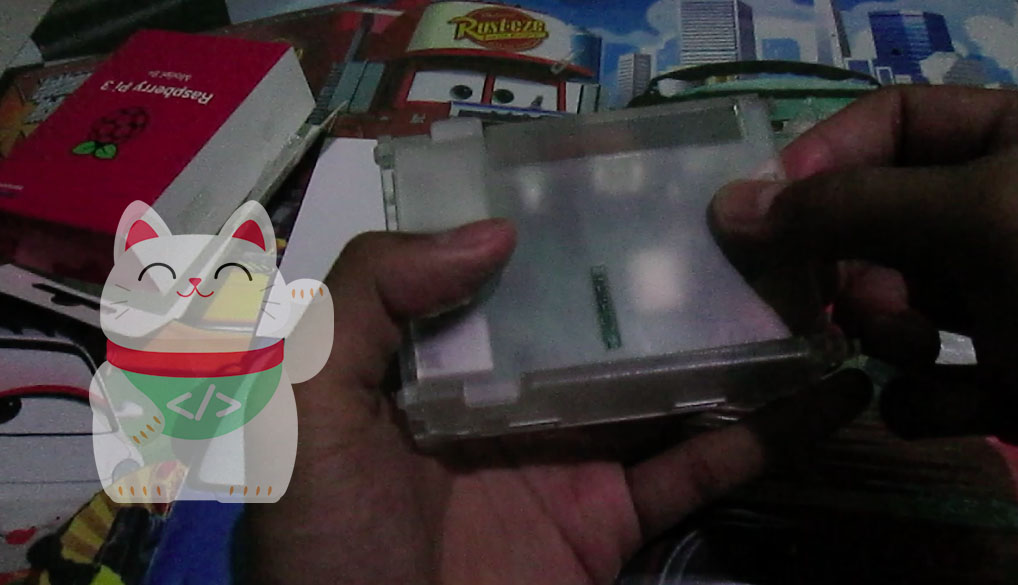
Replacing the Bottom of Raspberry Pi
Replacing Parts Left / Right (One) Raspberry Pi
Replacing the Top Raspberry Pi
Final touches


