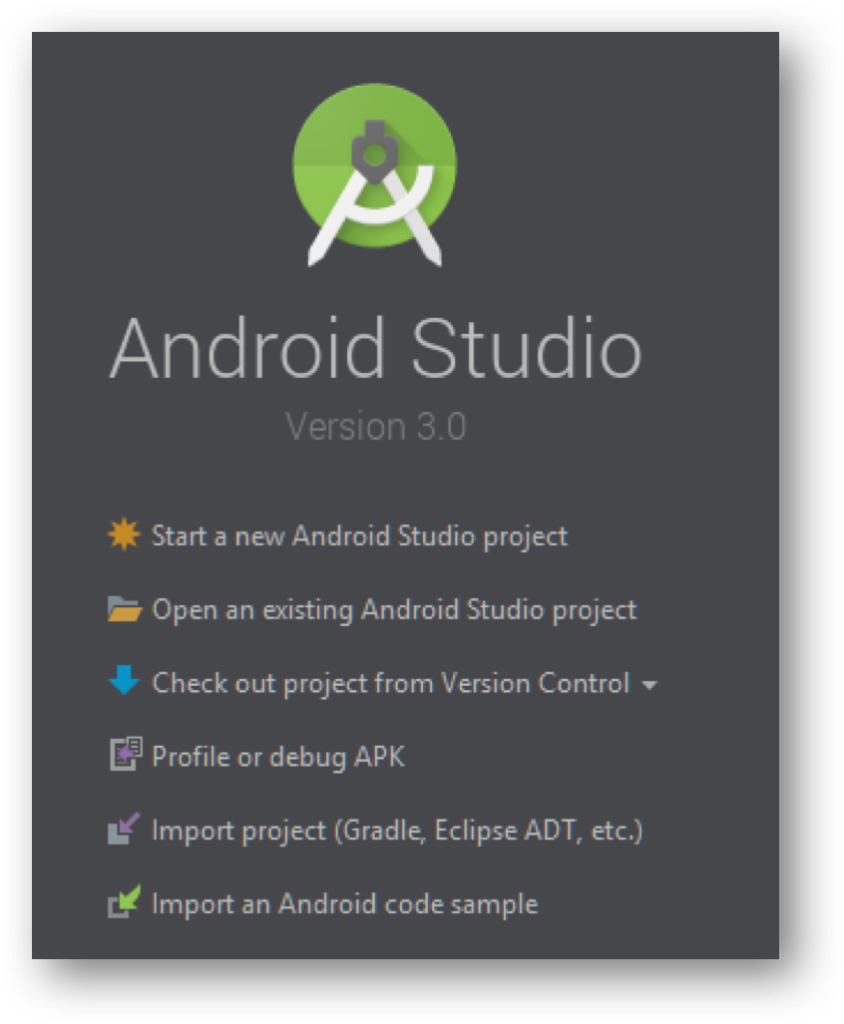
Download & Install Android Studio
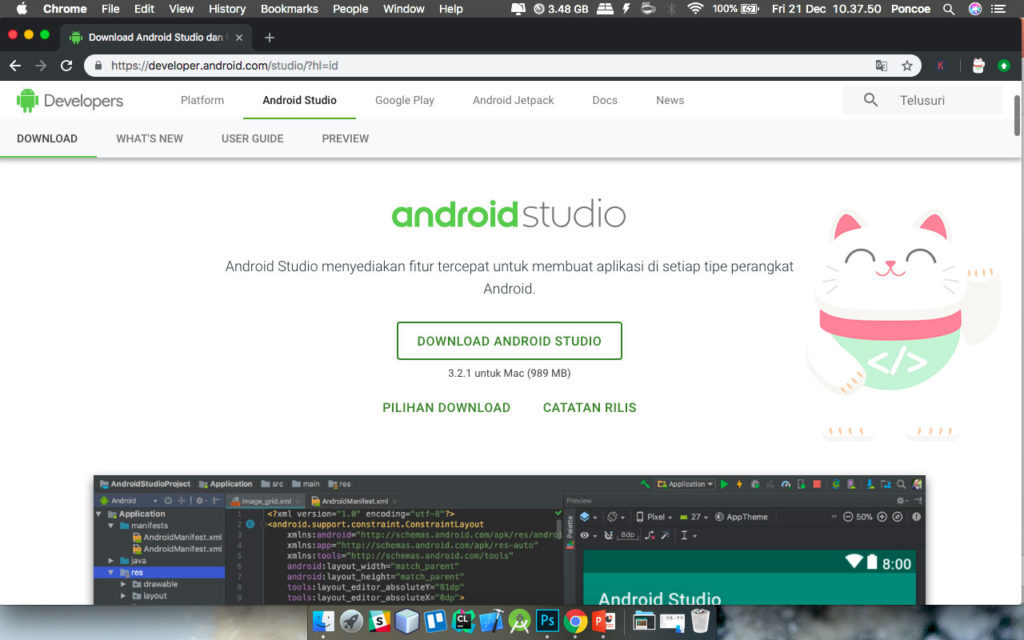
on this site you download the app “Android Studio” is available for OS Windows, Mac, Linux. for the current version is 3.2.1 with the size of 989mb. if already downloaded it please you follow the installation instructions to complete, if you are using a Mac just Drag & Drop into the application folder.
Also Read: How to Enable Drag & Drop 3 fingers on mac
Configuration & Install the Android SDK
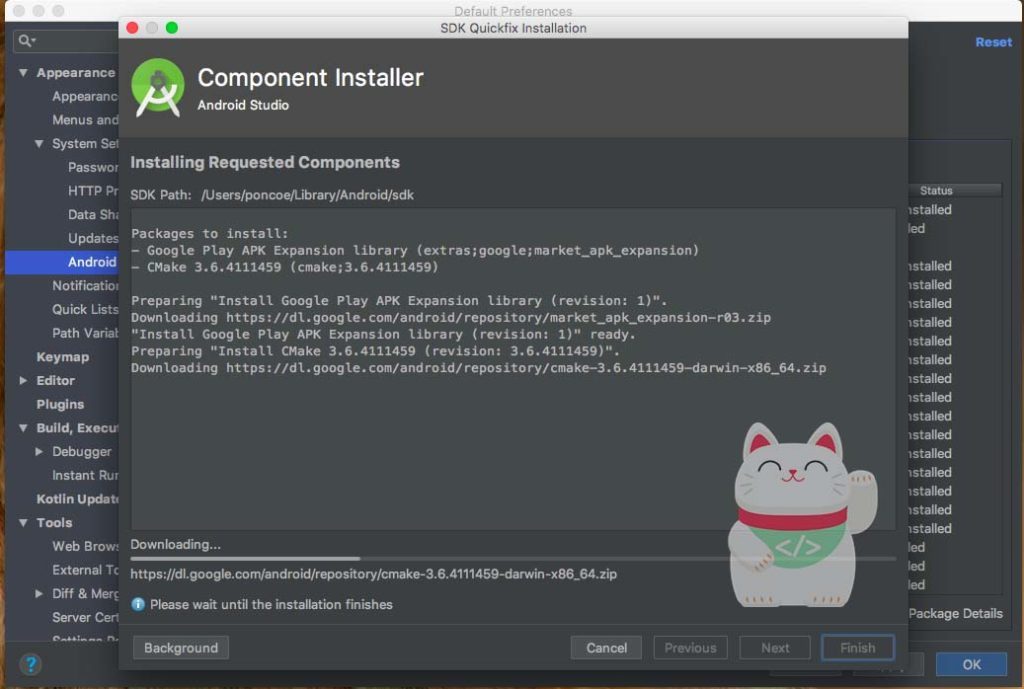
If you’ve done some studio android installation, configuration and time you install the SDK for Android android studio can be used to create android apps / do running applications.
Also Read: Configure the correct Android SDK
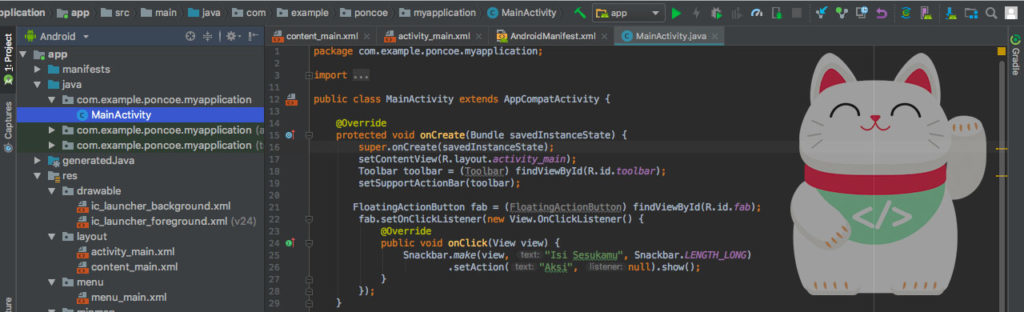
Structure in Android Studio
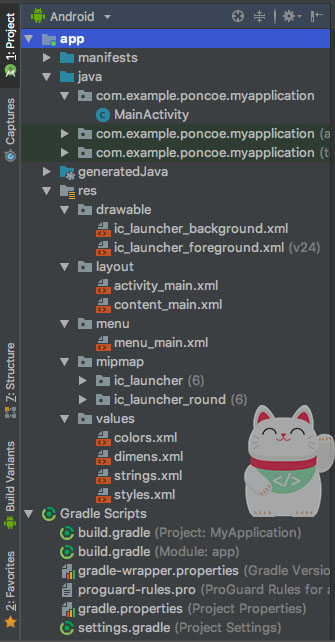
Android Manifest
Describes the basic characteristics of the application and defines the respective components.
Java
It contains .java source files to your project. By default, this includes files such as source MainActivity.java launcher that has a class that runs when the application is opened.
res / drawable
directory contains Images, Shapes
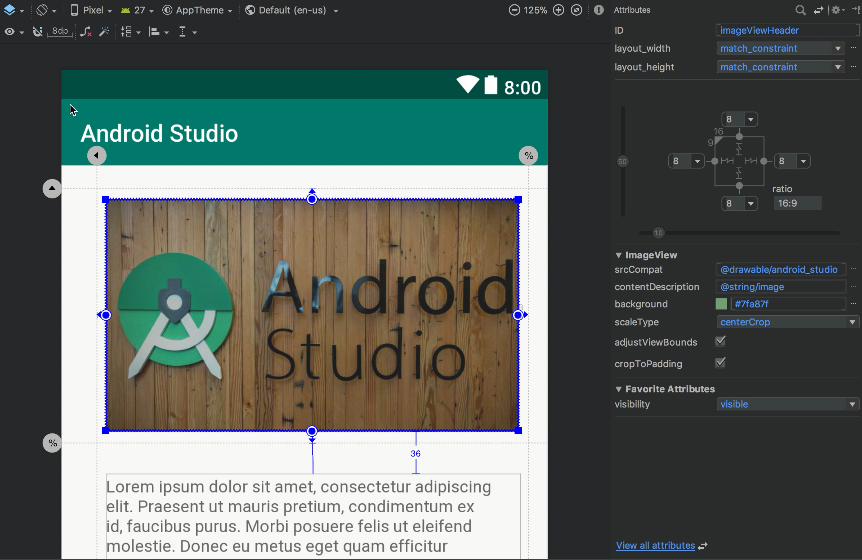
res / layout
directory for files that specify the UI (User Interface) of your application.
res / values
contains various XML files: resource, string, color.
Build.gradle
file is automatically created containing compileSdk Version, buildToolsVersion, appid, minSdkVersion, versionCode.
Main Activity
This is the actual application files that are converted into Dalvik executable and run your application, or the logic of your application.
Manifest
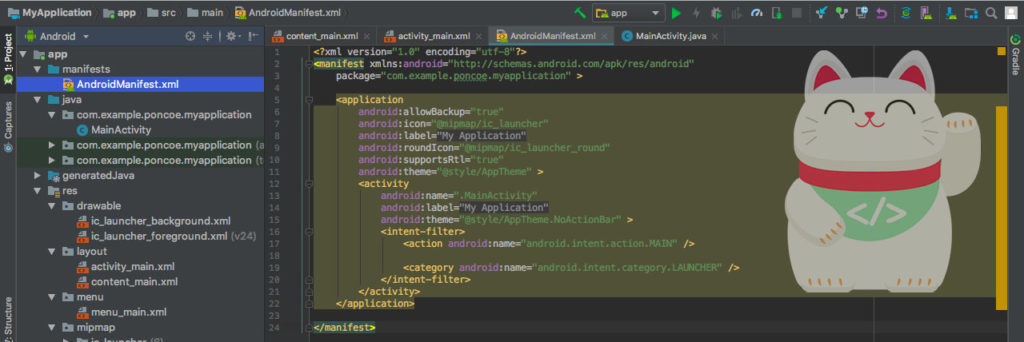
You Must Declare all application components in manifest.xml that represents the root of the application. So every Layout & Acitivy that you make must be declared in AndroidManifest.xml order to run, if not the occurrence of Error (Force Close) on your application.
Make Project “Hello World”
In this step, you simply select “Start a New Android Studio Project”
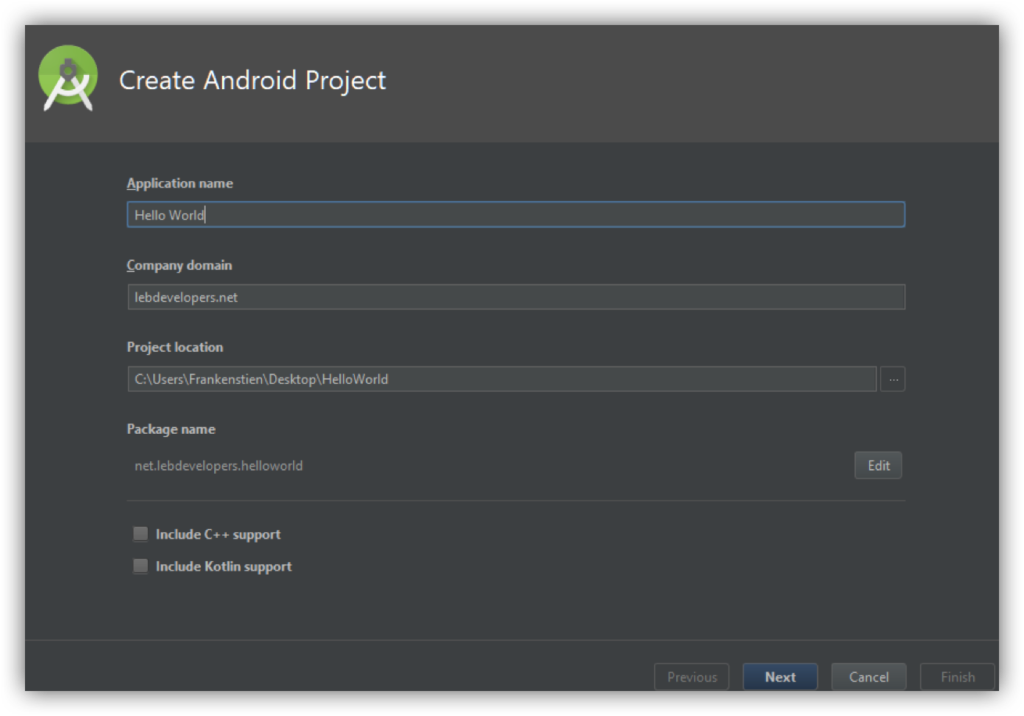
Enter the name and domain Company, for example, company namenya “LuckyTrue Development”, the package name becomes “com.luckytruedevelopment.helloworld” and you can edit the package name suit your wishes.
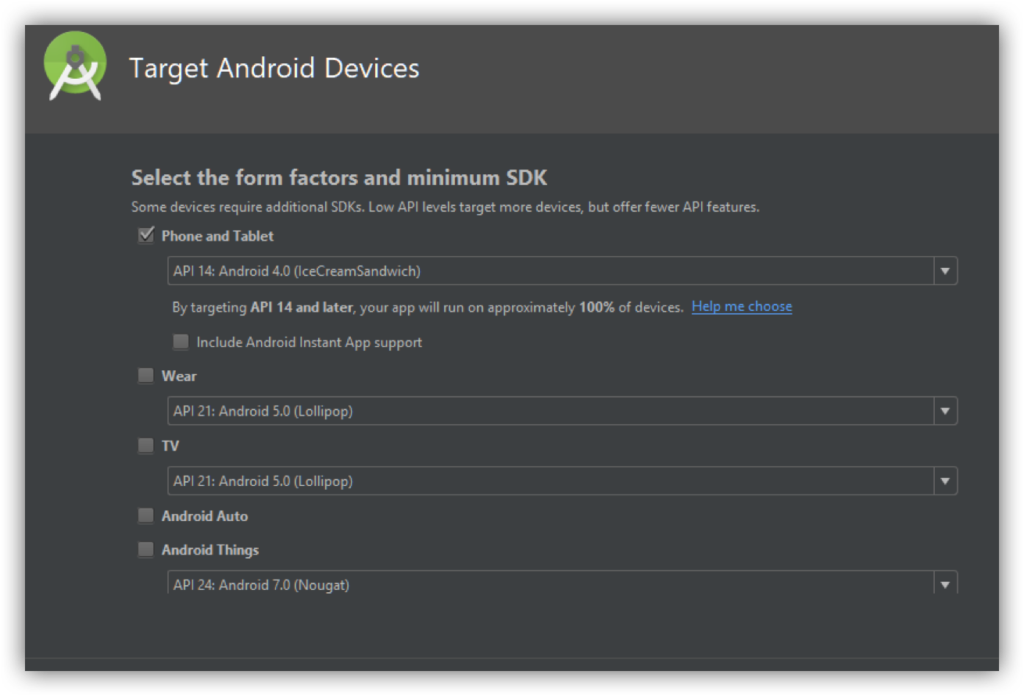
in this section you select the target SDK that you use, if you use the API, for example 14 (Android Ice Cream Sandwitch) support means your application from the Android ICS OS till date. Wear, TV, Auto and Android Things also the same.
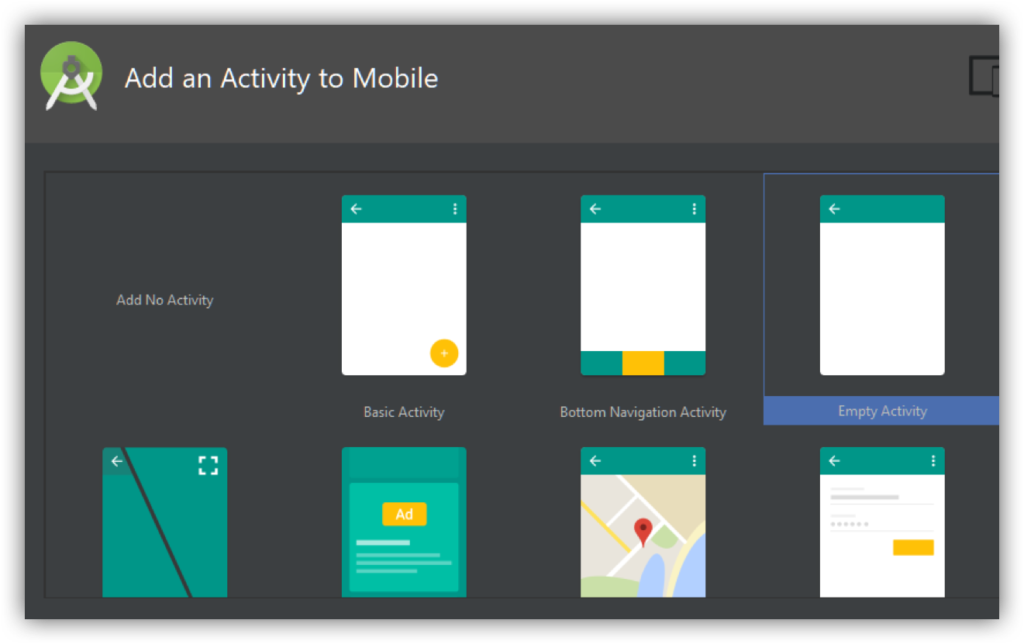
in this section you define activity templates that will be used in the manufacture of android applications, but if you do not want a template, you can select “Add no Acitivy”.
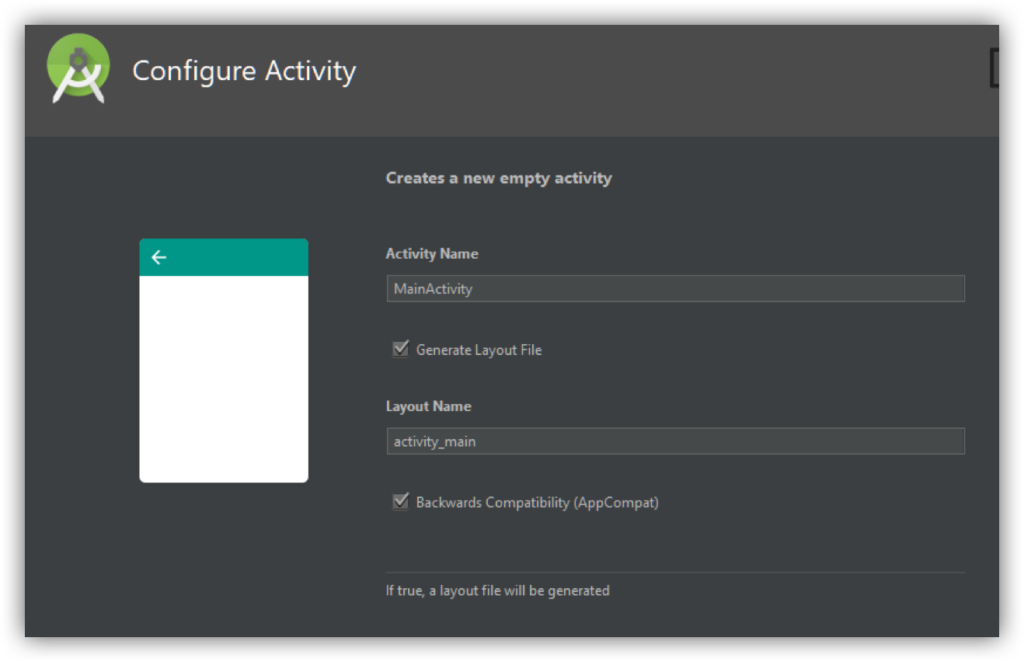
If it is then you configuration activity, you can use appcompat, fragment or whatever, and can rename activitynya.
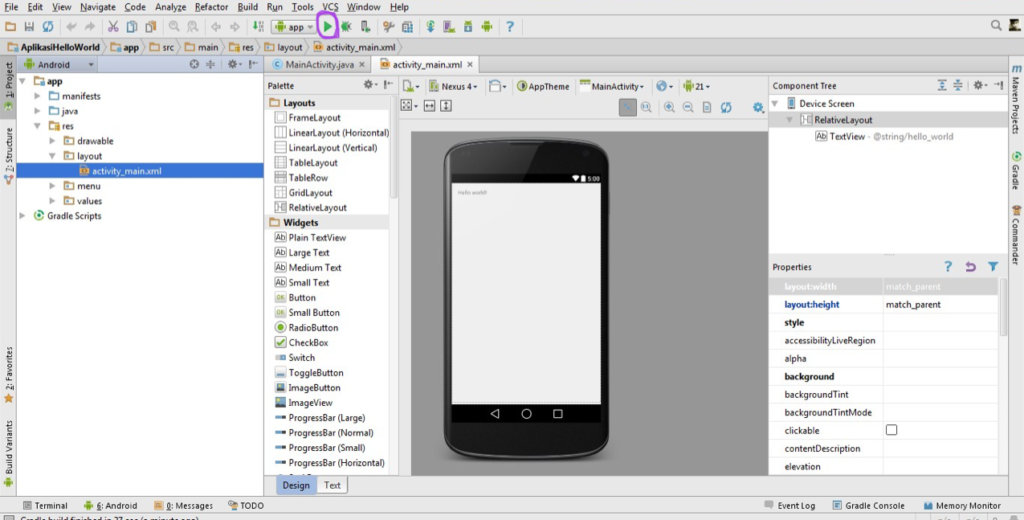
if you finished everything will appear like this. if it please you projeknya can run via emulators and real devices.
Android Emulator
An emulator running an application on your computer virtual Android Android Studio .
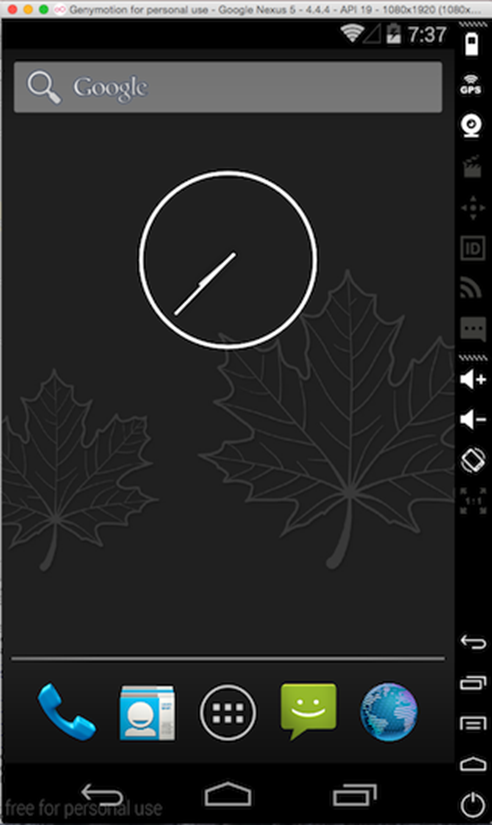
There are two emulators options: Genymotion or Intel HAXM. We recommend using Genymotion if possible, but requires a minimum of 4GB of RAM.
Genymotion require a few extra steps but suggested Android emulator currently used.
PC: You must activate Virtualization Technology in the BIOS.
Also Read: Running Android Applications via Genymotion
Also Read: Run Project Android Studio via HP


