Do you want to debug the Android application but have long running? Use Genymotion now!
Are you an Android programmer? Impatient for the length of the debugging program and takes a long time when debugging using the default Emulator from Eclipse & Android Studio, Use Genymotion to save your time when debugging android applications, this genymotion is available for Mac, Windows and Linux platforms.
Step by Step :
1. Install VirtualBox from Oracle
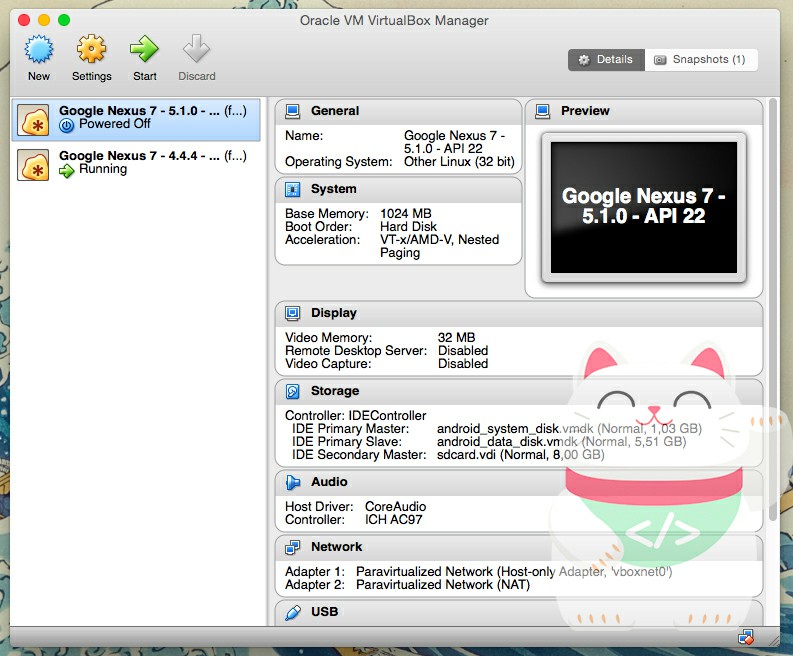
The following picture above is the Application of “Virtual Box” To run the Genymotion application, VirtualBox is very important to run Virtual Devices on VirtualBox so that the Genymotion application can run properly. VirtualBox site : www.virtualbox.org
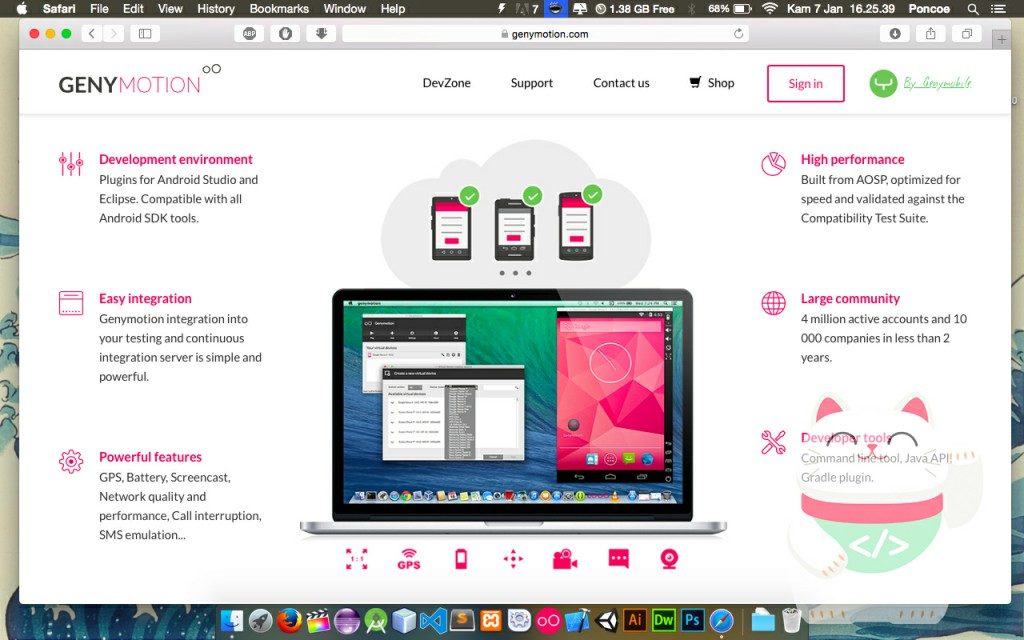
2. Install Genymotion
And of course you also have to have the Genymotion application on your computer, this application supports Mac, Windows and Linux platforms. To download, it’s really easy to login / sign in your genymotion account and you can download it, do not have an account? Just click Signin -> Create New Accounts. Genymotion website: www.genymotion.com
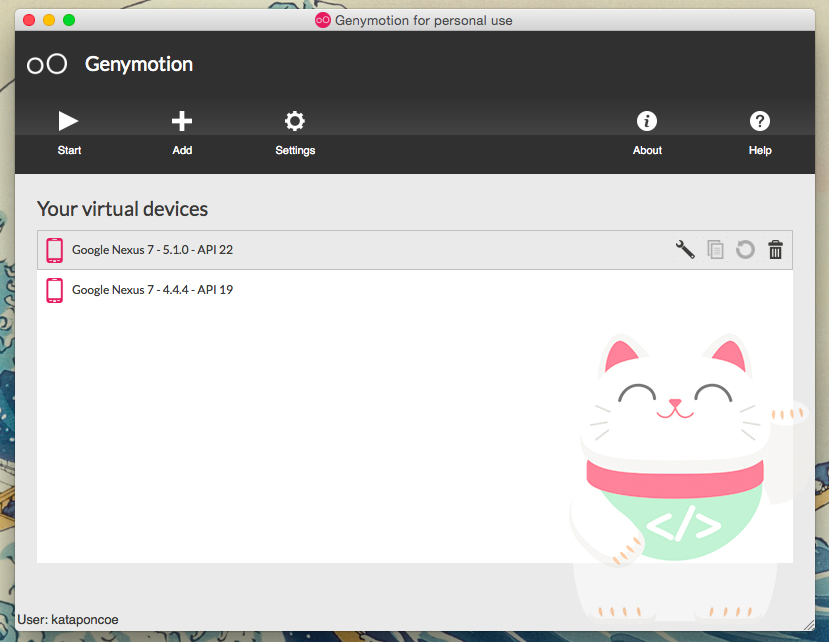
If you have already installed Genymotion & VirtualBox on your computer then this is the result, the main menu display of the Genymotion application, if you don’t have Virtual Devices, you just have to click on the “add (add)” button before downloading virtual devices, you must go to Genymotion account first first
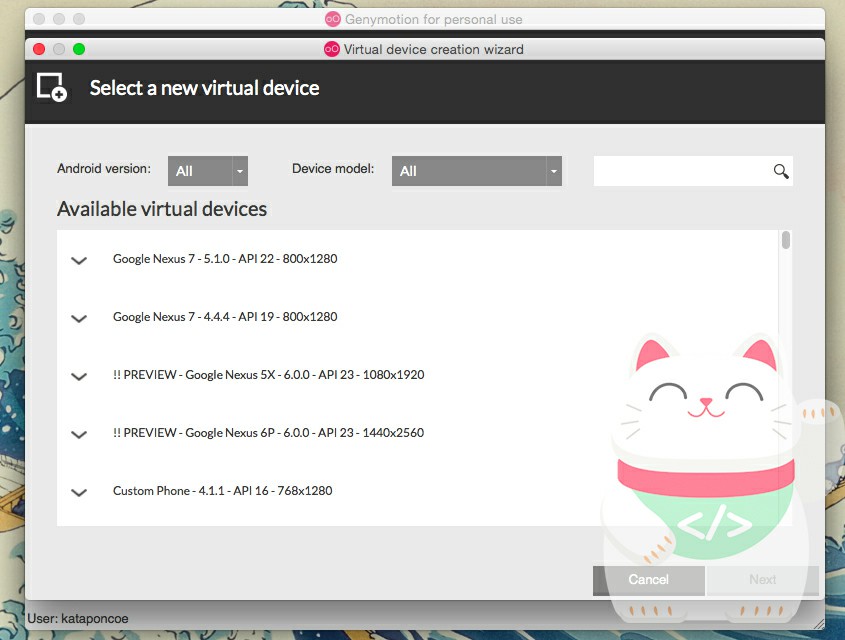
After you click on the icon “Add (add)” will issue a display like this that works to select the virtual devices that you need to run your android emulator, but before you log in before this application, the login dialog will automatically exit, then be remembered To Add Virtual Devices Requires an Internet Connection.
3. Complete Installation & Configuration
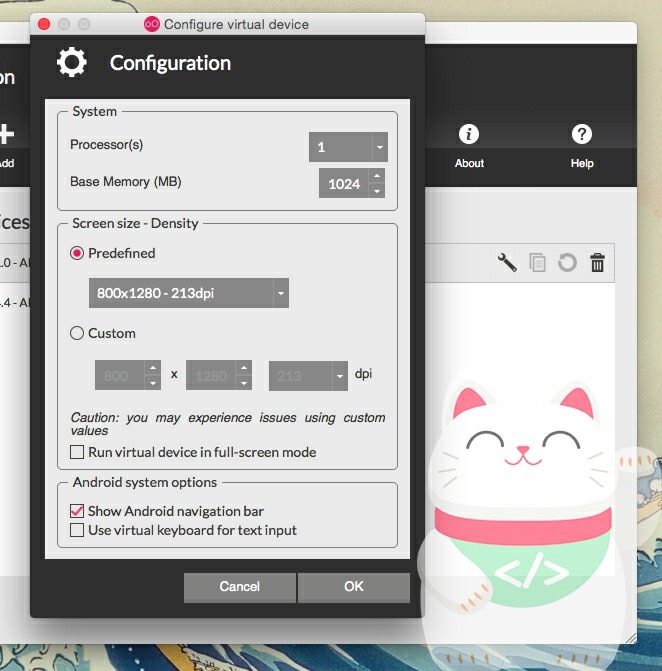
If you have finished installing Virtual Devices on Genymotion, it will appear as shown in Step 3, namely “Display Genymotion” After clicking the virtual devices that you want to configure and click on the “settings” image icon, and there comes the configuration, not to burden the system on your computer , use the processor with the option “1” like the picture above.
Settings In my opinion the best :
- Android OS 1.0 – Android OS Honeycomb, using 256MB of Base Memory, or 512MB for better performance
- Android OS Ice Cream Sandwich – Android OS Lollipop, Using a Base Memory of 512MB or 1024MB for better performance
- Android OS Marshmallow – Latest uses Base Memory 1024MB or 2024MB for better performance using above 2024MB and processor option “2”
Debug Application created using Eclipse & Android Studio and run on Genymotion
Run Via Eclipse :
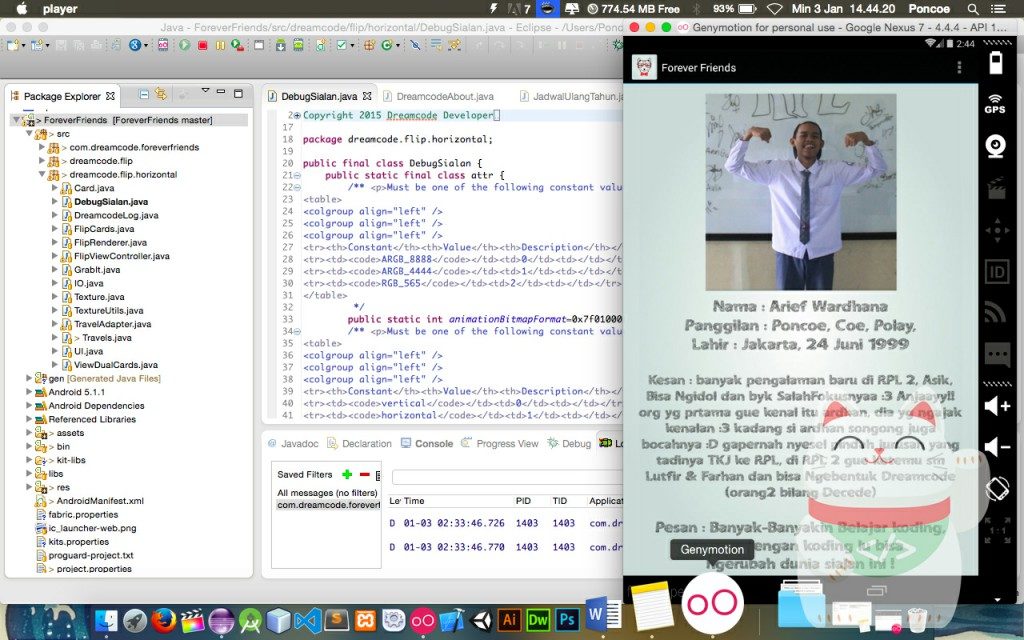
To run the emulator is quite easy, before you have to open the Genymotion application first, and run (Start) Virtual Devices, after everything is running in the Eclipse application you just need to click the “Run” icon on the Right Pannel Eclipse, and Debugging will automatically synchronize the workspace “Workspace” application and compiled into an apk and run automatically to the Genymotion application.
Run Via Android Studio :
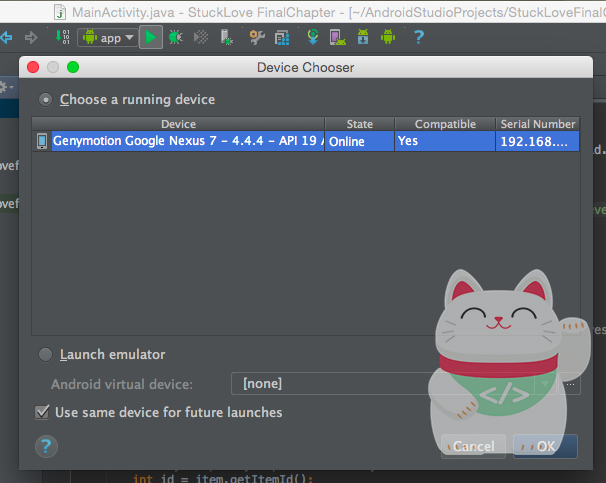
For the Android Studio application is quite easy and the same way as in the Eclipse application, you must open the Genymotion application first, and run (Start) Virtual Devices, after everything is running on the Android Studio application you just click the “Run” image icon and automatically Debugging will synchronize the workspace “workspace” application and compile it into an APK and run automatically to the Genymotion application, and don’t forget to check “Use Same Devices for Future Launches” which is useful for automatically directing to genymotion without the “Choose a Running Devices” panel appearing.
thanks 🙂
Note : if compared at a glance like an article from a blog publisher from jogja called “Arena Laptop” yes this is my own article and I have posted this article there when I was a writer while there 2015-2016 then xD enjoy.


