Hello This time i want to share How to Make a Push Notification on WordPress, this time we will learn to use the plugin, immediately wrote.
Step by Step
1. Create an Account & Setup in One Signal
Before you create an account onesignal first to use the term push notification service or notification, the service is free and no entrance fee charged, for a website you can visit at https://onesignal.com/
One signal is very easy to Implementaon, both the website and the blog / wordpress.
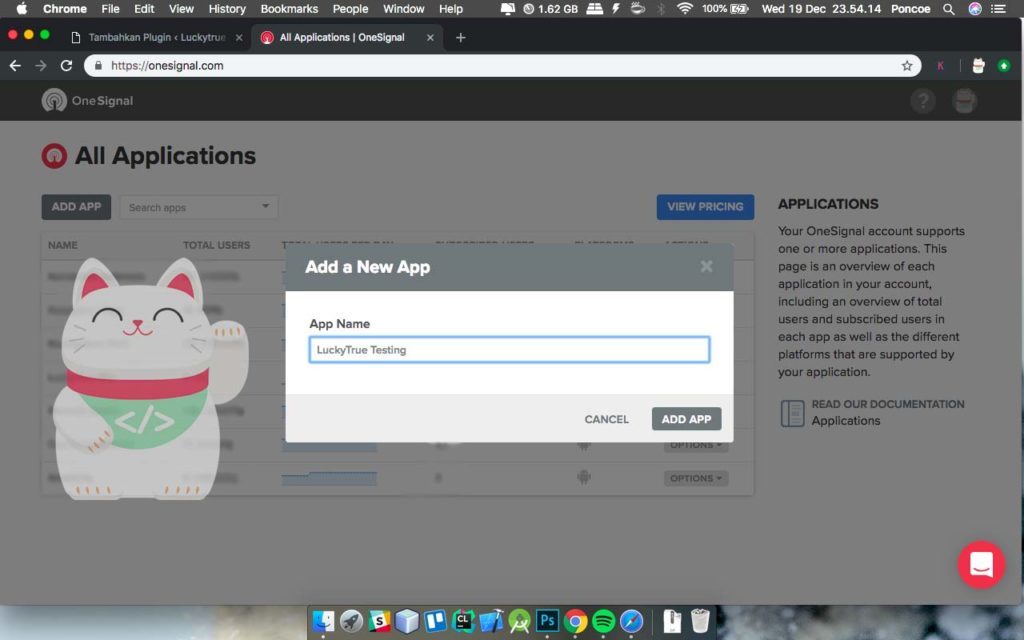
in the image above you are required to setup / add app, to make notifications, where you have to enter the name of the application you want you create notifications and push the button “Add App”.
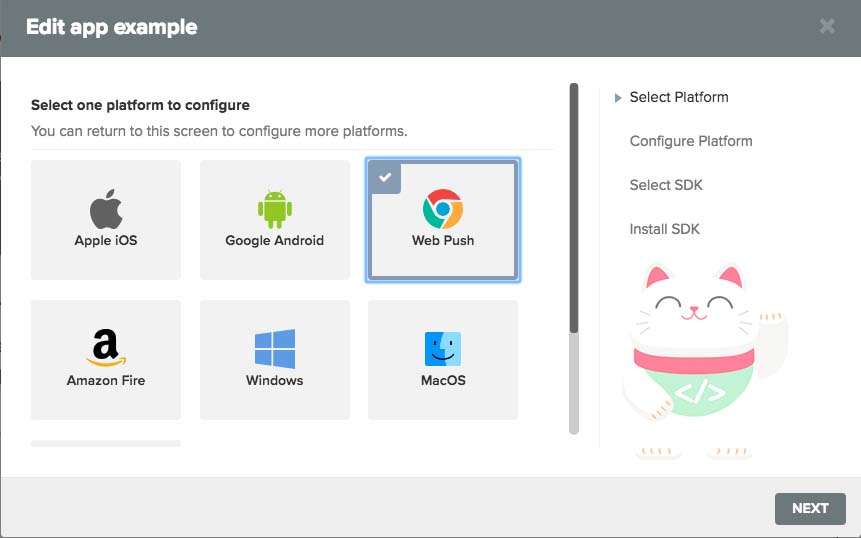
If it is you push the button “Add App” will show the option platform that will be used, in this case i use “Web Push” because his platform suitable for website and blog, and if you choose Apple iOS used to make notifications on your iOS device, Google Android to Android and other devices.
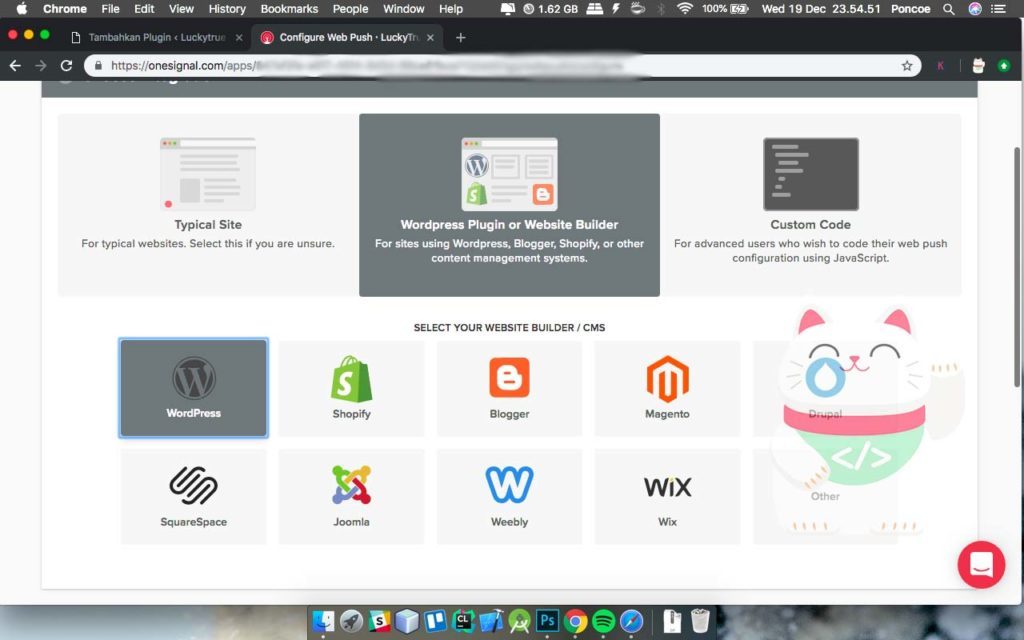
if it is you will see this page, and in this case i use “WordPress Plugin or Website Builder” because it is suitable for a wordpress or blog, and if you select the “Typical Site” was perfectly suited for Site / Website (Not trusted WordPress) ,
And you choose the option that you use a website builder, in this case i use wordpress so i choose wordpress.
2. Setup Notification to Chrome
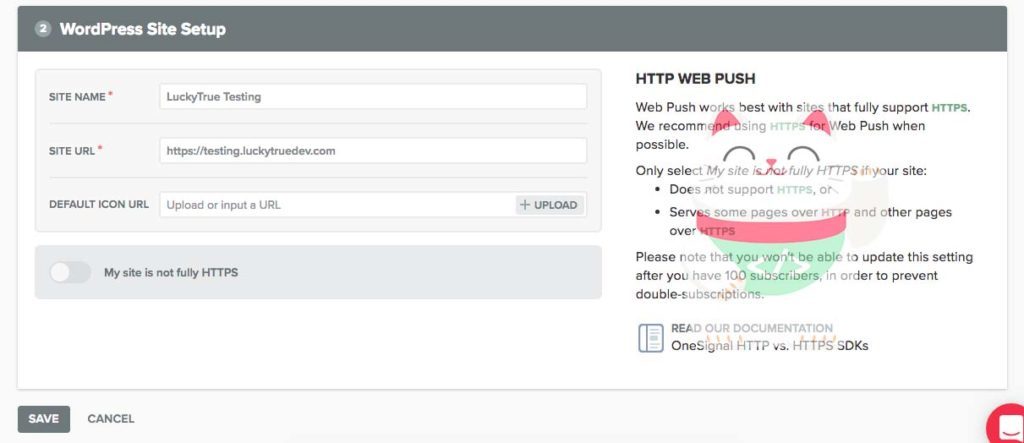
If it is you will find a page like this, Please you guys are Site Name, Url and website icons. If your site is not in protection by SSL (still using http) please enable “My Site is not fully HTTPS”. But if your site is already protected by SSL (HTTPS already) should not be enabled. then select “Save”.
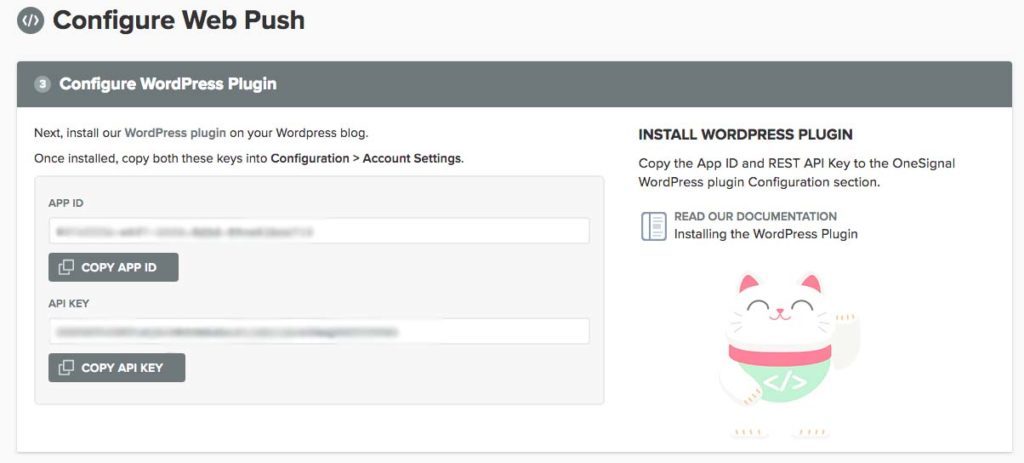
If you’ve completed all the secret code will appear on the APP ID and API KEY, this actual configuration for all web browsers except Safari. In this section should not be issued, and when her we setup for safari browser.
3. Set Alert for Safari
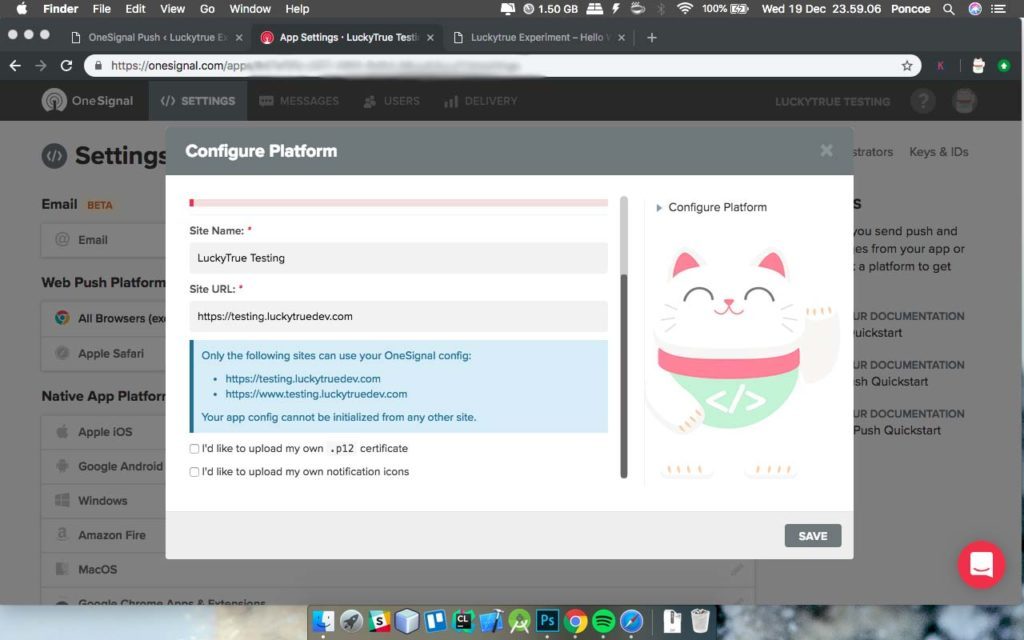
for this section is optional, if you do not want me on safari you can skip this section, just i do not recommend if you do not turn on notifications for a safari. if you turn up this page, please you browse Web Site Name and URL, then save.
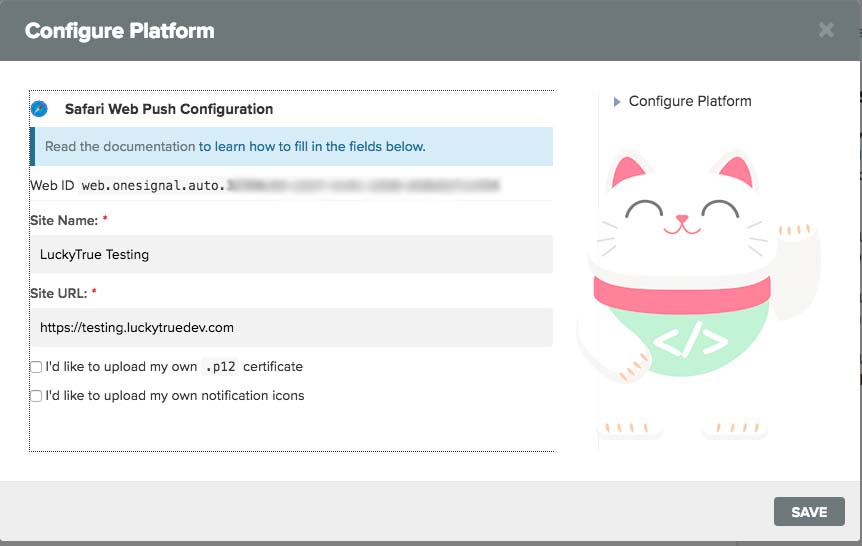
If it is then you will get the site ID for safari, and save.
4. Install WordPress Plugin One Signal
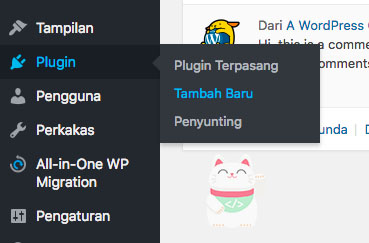
This time we are going to install the plugin, before you to Plugins menu and select “Add New” from the submenu Plugin.
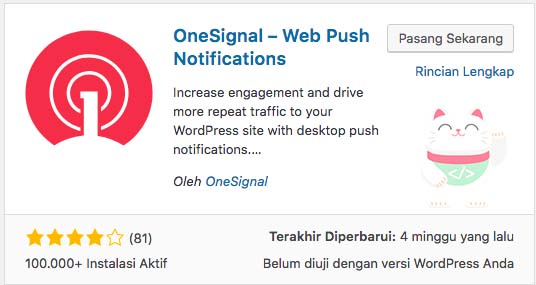
If It appears the “Add New Plugin” you type the name of the plugin in the search bar, and make sure the plugin name and the icon corresponds to the image above. In this case i use “OneSignal – Web Push Notification” probably because these are created directly from Onesignal and the download is also quite a lot, if it is you install this plugin.
5. Configure Onesignal in WordPress
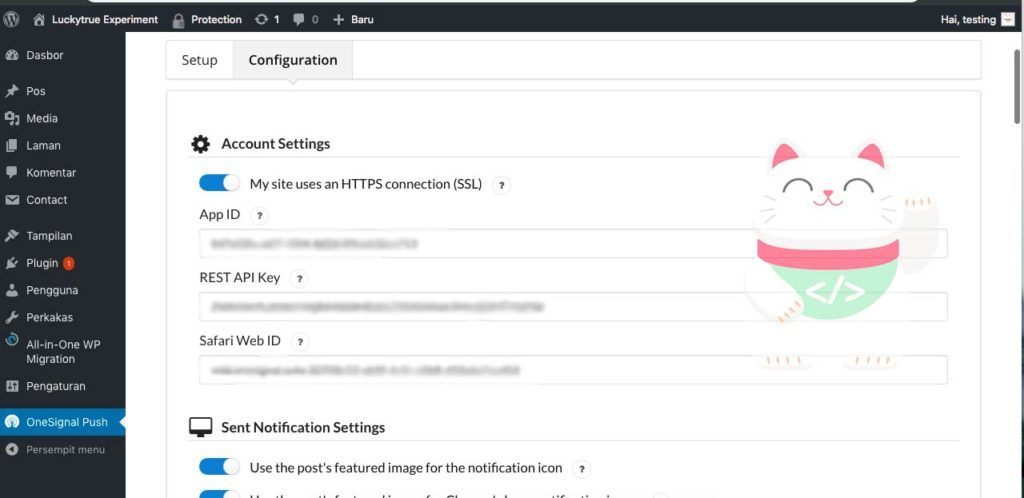
If it had been you immediately wrote configuration in wordpress, and please you paste APP ID, REST API KEY and SAFARI WEB ID that you have made, if confused you can see the image at point 2 and 3, then save.
6. Perform Test
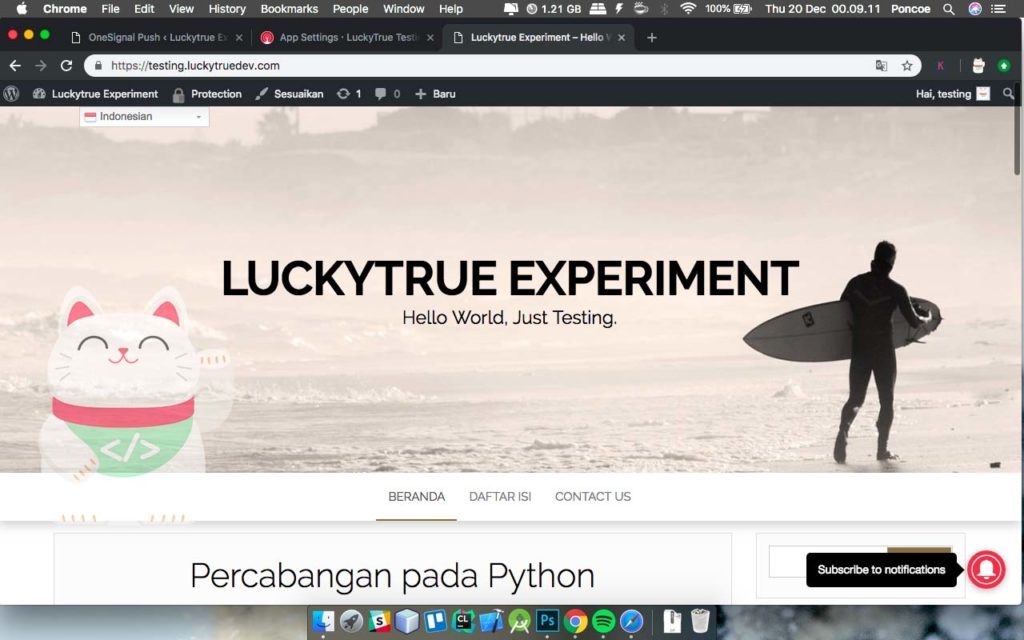
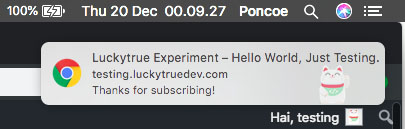
if successful you will appear bells on the bottom right, and you have to subscribe to notifications can press the bell, for wordpress version and the web site is very different, and the bell-shaped if wordpress web site will appear a popup like this.
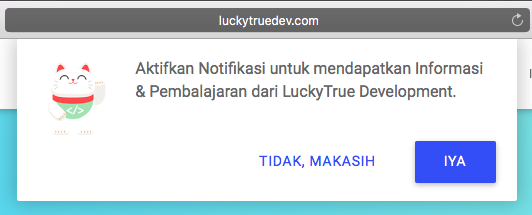
If you push Already bell / popups as shown above will appear like this notification.
The final word
Congratulations, you have learned how to make a push notification on your site / wordpress you, maybe that’s all from me. Thanks


